I am an equal opportunity technology person. I was mad at my iPhone 3G, so I upgraded to an Android phone last fall. Hated it. Mainly hated that my GPS was off….by miles. I tried to use it while on the East Coast and according to my phone I was in the middle of the ocean. So, being the super nice mom that I am, I stole (borrowed?) my daughter’s upgrade to get a iPhone 4S. Super happy, but I needed a case.
I found nothing that I liked at the AT&T store, so I fought my way through the crowds into the Apple store today. Super helpful people, but I wanted a pretty case that was durable, I would get bored with, not too big and would protect my phone from being used by my children. Apparently, they don’t have many suggestions for that. I found many pretty cases. But what if I got bored with it? What if it didn’t match my purse? Maybe I should go plain. But the plain ones looked too boring. I thought I had found the one that I liked, but I wasn’t sure. Luckily my husband doesn’t mind drooling in the Apple store, so I could take my time. If only Kate Spain made iPhone covers! Kate Spade does…..almost the same name. Then I had an idea….I would make my own from a clear cover!
(btw, yours doesn’t have to be Kate Spain fabric if you have another designer that you stalk)
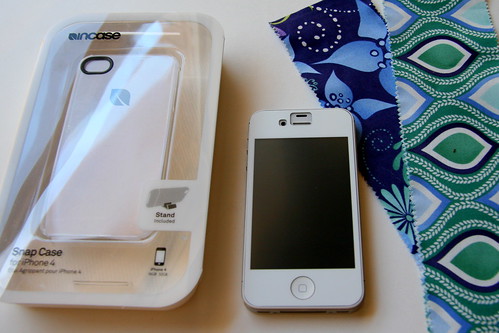
For this, you will need a clear iPhone cover, an iPhone that fits into that cover, some fabric scraps (these are from a jelly roll!), a pen, sharp small scissors, starch and an iron.
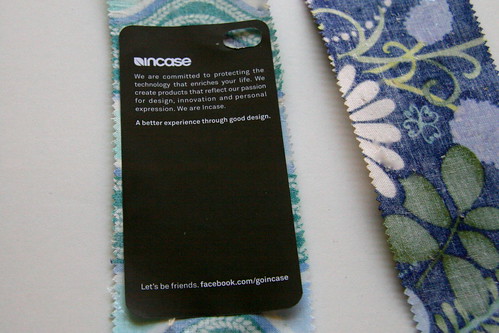
Look at this wonderful case, it comes with a template! Don’t discard this scrap of paper.
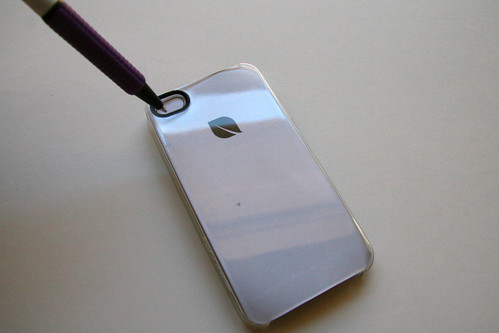
Trace the opening for the camera and flash, especially if you definitely want to take pictures of something besides fabric. Cut out the opening for the flash very carefully.
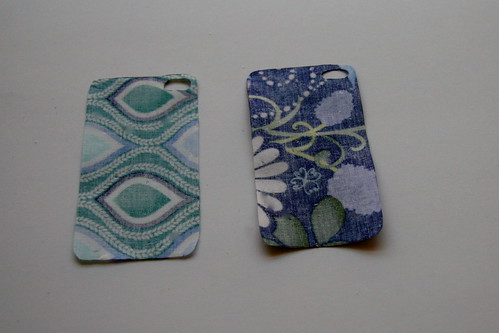
Next, you need to heavily starch your fabric. I make my own spray starch, but the purchased kind is just fine too. I highly recommend covering your ironing board, then laying down the fabric, wrong side up. Spray a bit on, iron, repeat 3-4 times until the fabric could stand upright. Then trace the pattern onto the wrong side of the fabric. DON’T forget to flip your pattern over so that the camera hole is on the correct side. (Oh and I have no affiliation to iPhone, Apple, any case designers, or anyone else for that matter.)
Cut out the traced fabric, cutting on the inside of the traced lines
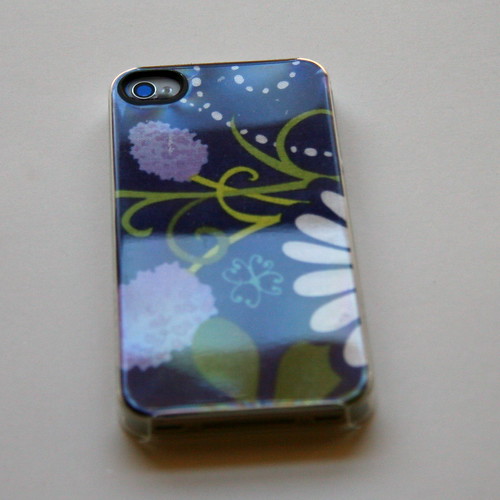
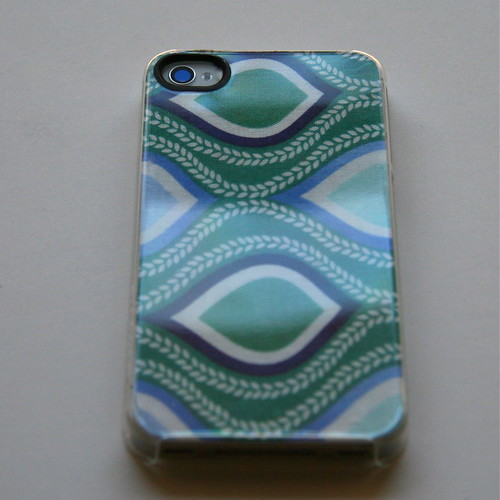
Slip the fabric into the case and snap onto your phone. I found I had a couple of threads to carefully trim around the camera opening. The best thing, I can put the latest fabric into the case over and over again. 

Tomorrow…..or soon…..how to clean the sole plate of your iron after using lots of starch…….
Comments on this entry are closed.
{ 5 comments }