Last week I had a major problem. I made a quilt (umm, Stackable) that was too long for my usual photography methods and my possible quilt holder was on a business trip and my teen wasn’t home. My usual method involves a shower rod and screws on the fence. But it does have a downside. The back of my house is light colored and the reflection can cause the quilt to look washed out. Oh and it was (is) windy, so its hard to take a picture.
I came up with a solution I thought I would share with you. For those of you who don’t know, I live in Austin. People in Texas are very nice, I get doors opened for me all the time by strangers and I’m called “ma’am” everywhere I go. In a traditional sense, it’s nice. I’m from the NorthWest where people don’t say, “yes, ma’am” all the time, nor does anyone say, “y’all”. But apparently women are not supposed to be unaccompanied in the home depot plumbing aisle. Paint aisle, yes, gardening section, of course, plumbing and people get scared. I was asked more than 10 times if I needed assistance. I finally stopped making eye contact. I need to get a shirt printed up that says, “Umm, roofed my own house, do you really think I need help?” Seriously, it was bordering, okay it was really annoying.
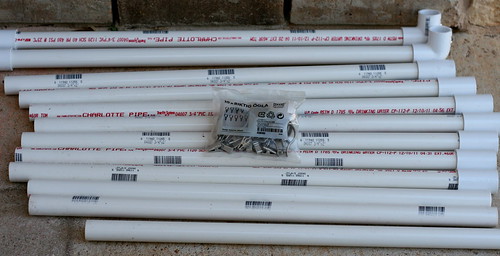
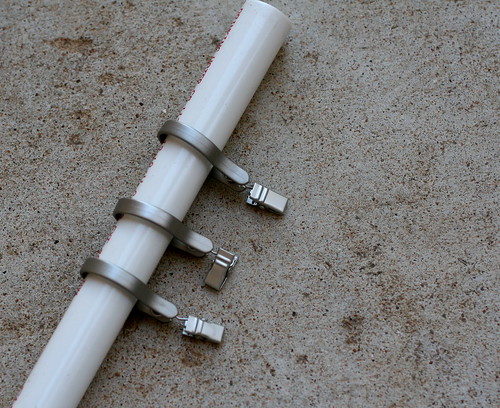
For this, you will need a bunch of 2 foot sections of white plastic pipe (I chose 3/4″), connectors, 2 elbows and a package of hangers (mine are from IKEA) for quilts that don’t have a sleeve. I purposely chose the 3/4″ size so that the hangers will slide on. My big box home store had precut 2 foot sections of pipe. It would have been cheaper to buy 10′ and cut it myself, but for $2 more, I wasn’t that concerned.
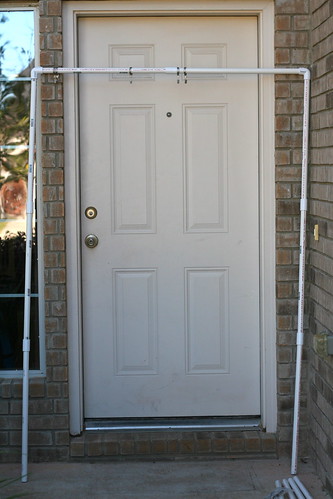
Simply put the pipes together with connectors until you have something wide enough to hold your quilt. If you are using hangers, they will not slide over the connectors, so plan accordingly.
I love photographing by my front door. The light is perfect thanks to a huge (for Texas hill country, kind of med-large for the west coast) tree and the light colored pavement. Plus it’s protected from the wind. I lean the frame against the door for stability. I thought about buying T-shaped connectors and putting on feet, but I’m sure the wind would have laughed at that.
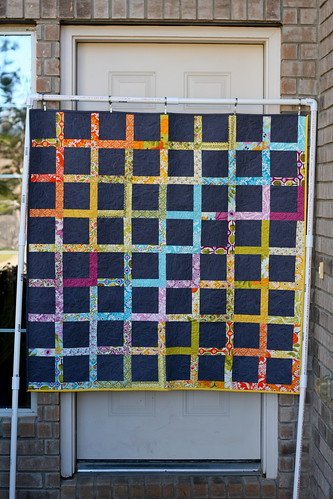
Hang your quilt and photograph. If you have a sleeve, just run the top through that instead of using hangers. If I were photographing this for real, I would have repositioned the side rails to not block any of the quilt or added another 2′ section to the top rail. But you get the idea, right? And the best part? You can change the size if you want and after you are done, just disconnect and store.
Approximate cost: $15.00


Comments on this entry are closed.
{ 3 comments }