Its contagious. I love valentine’s day. The colors are so pleasing to me. Its not quite spring, but it thinks it might be.
To celebrate, I made a couple of things. Mainly because I can’t resist Valentine’s Day fabrics, but don’t want to wear them all year, yk? And I don’t really decorate my house much since I am burnt out after Christmas.
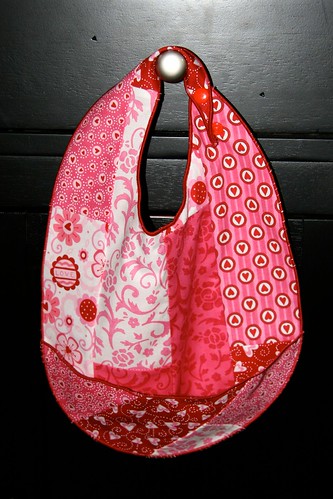
First, a sweet bib (NOT for me or my children, for little friends)
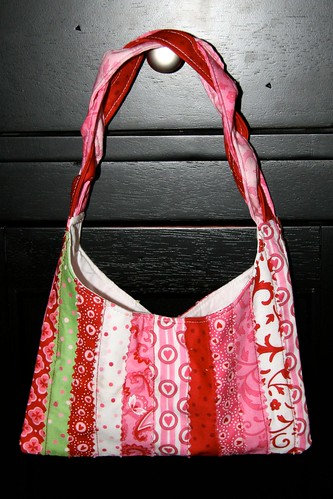
Next a cute little purse for a darling little girl, to hold her precious valentines.
The purse is easy to make from any pattern. I created my own fabric for the outside. Again, so easy to do.
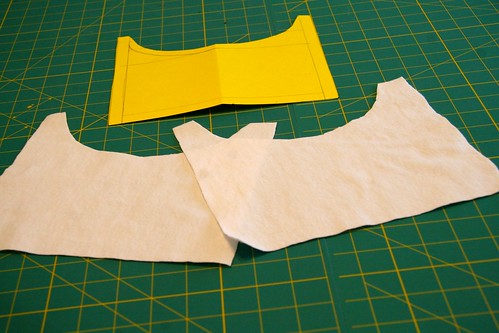
First you need a pattern. I made my own, but nearly any commercial one would do. I cut the outside pieces out of white flannel. I wanted some puffiness to the purse.
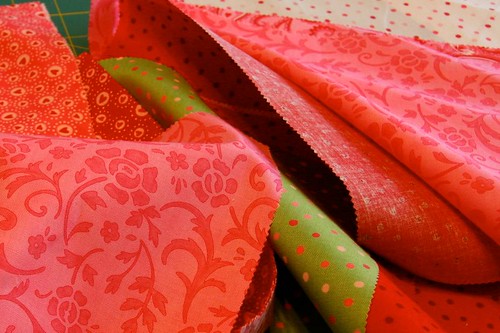
Next you need a selection of beautiful fabrics. These came from a layer cake. I admit that I am so charmed by Bali Pops, Layer Cakes, Jelly Rolls, etc, etc. I want to buy them, but don’t know what for. I know I have issues. I know.
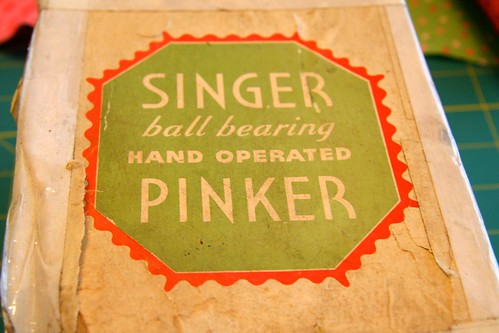
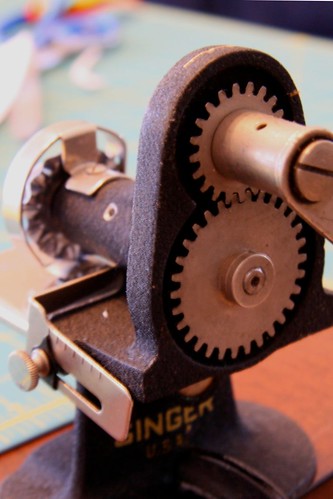
I wanted a vintage charm for this purse. I little shabby chic feel. What is more perfect than pulling out the vintage tools? Keep your eyes peeled for one of these, I love mine. The box has lots of “character”. I got it off of ebay and its called a Singer Pinker. I makes the most perfect pinked edges, so much nicer than pinking shears. Its just PERFECT. And you can cut other things with it like paper, felt, etc. The wheel should never dull because it actually uses the pressure of the ball bearing below to make the cut. Again, if you see one of these, grab it. Make sure it has the c-clamp and preferably the adjustable fence. If you need assistance, contact April at April 1930’s, she is wonderful!
Here it is all attached to the cutting table, ready to go. It has a crank on the side that feeds everything through the machine.
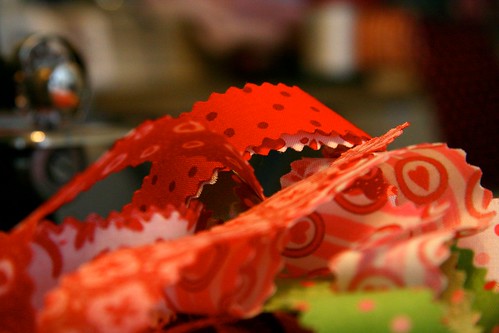
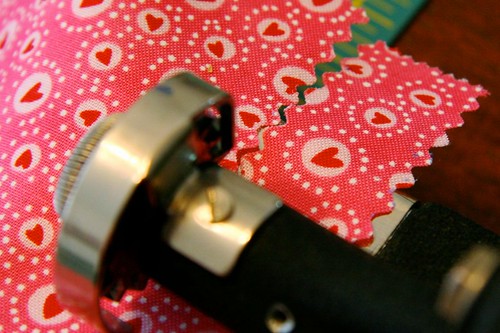
Isn’t it just PERFECT? Look at those edges! If you need wider strips, you can always cut first and feed through the other side, just taking off the very edge. This machine makes me happy. Seeing the perfect results is so satisfying. Makes me want to put on pancake makeup and high heels and hose. Or maybe my jeans, clogs and Bare Escentuals are good. Never mind.
Now I have a nice pile of finished strips. So beautiful all together, don’t you think? So very valentiney.
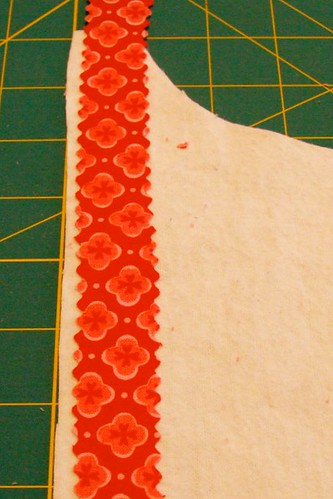
Now set a strip on one side of the pattern piece. Don’t worry about overlapping, etc. I prefer to set the edges in 1/4″ so that the raw edges inside the purse are not so bulky. You may chose to do this or not, your choice.
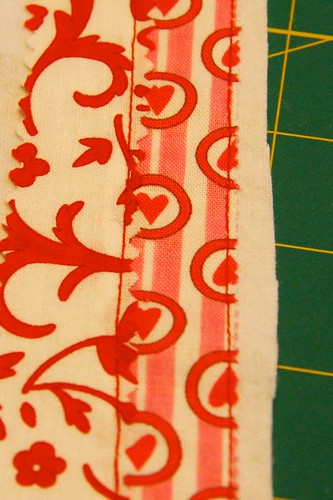
Working from the edges in, simply put another piece down and stitch through two layers. I chose a thread that would stand out. Or matching would be good. Or whatever. As a side note, if you get the piece all constructed and while ironing, perhaps notice that some pieces did not catch well, a strip of fusable web can save the project. Not that I have any experience here. Nope.
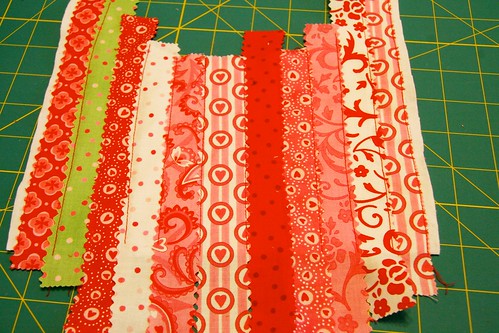
Continue in from each edge, then put the one in the center overlapping both sides. It doesn’t have to be perfect, that’s the beauty of shabby chic! Repeat for the other side and voila, you have your own custom fabric.

Comments on this entry are closed.