This is an older tutorial, but one of my favorites! Especially for the holiday season. I’ve added a downloadable PDF pattern for you this year. Remember to print choosing “100%”, NOT “fit to page”. You can also increase the size to your needs by sizing up the pattern on a copier.
holidaystockingpattern <—download the pattern here!

Is there a little spot on your tree that is bare? Do you have a few scraps of holiday fabric leftover from your sewing this year? Need a little something to make a present stand out a little more and don’t want to brave the shopping crowds? I have the perfect little thing to make! Very easy and quick!
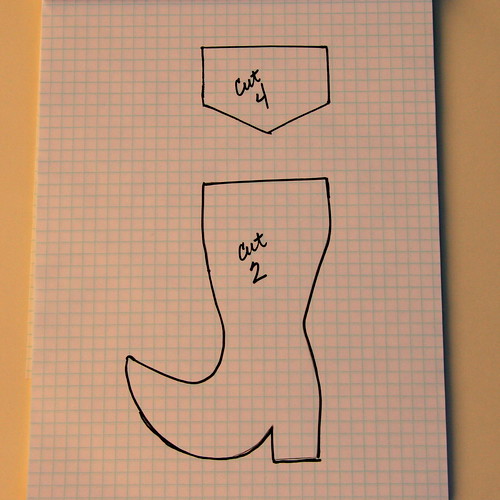
Here is the basic pattern. This is drawn on 1/4″ graph paper, the kind that most office supply stores sell. Feel free to improvise your shape a little bit. You will need 2 of the body, and 4 of the cuff and also a little 1″x4″ scrap for the hanger loop.
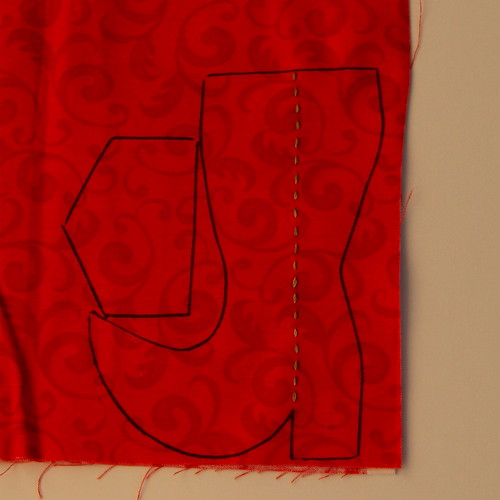
First, trace your pattern. If you want to do a bit of embellishment, like some hand embroidery, I highly suggest you do it before you cut out the pattern. Yes, I do trace my patterns in sharpie. Yes, I have sharpies in my sewing studio, don’t you?
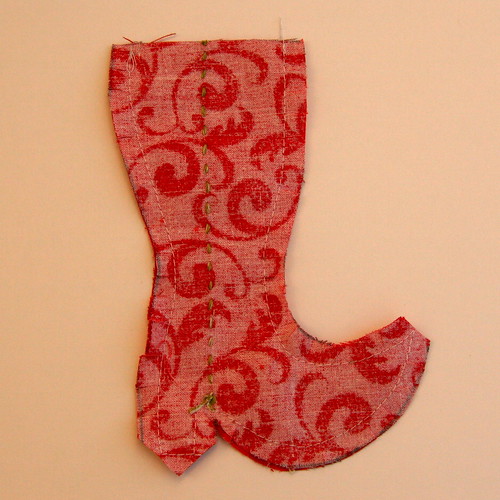
Cut out your pieces and sew the stocking bodies together, using 1/4″ seam allowance, leaving the top open. Clip curves really well! Then turn right side out, gently using a chop stick or other pointy object to push out the heel and the toe. Gently. Not that I have ever stuck the end of my pointy object through the tip of the heel or anything. Nope, never happened.
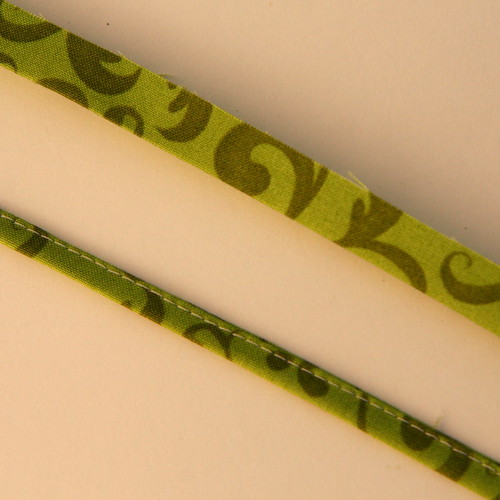
Grab the 1″x4″ strip of fabric. Fold it lengthwise and press. Then fold in the long edges to the center and press again. Then stitch along the edge to finish. Or, you could omit this whole singe the finger situation and grab a nice little length of ribbon. It’s your choice. I always think the fabric will look cute until I am blowing on my fingertips as they get close to the iron. Suddenly, ribbon seems just fine.
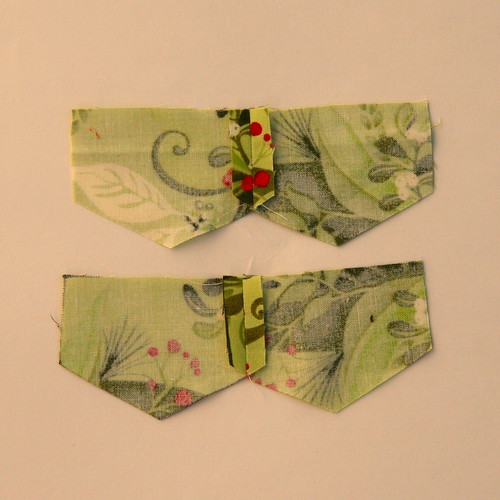
Take the two pairs of cuffs and sew 1/4″ seam along one short side. Press open.
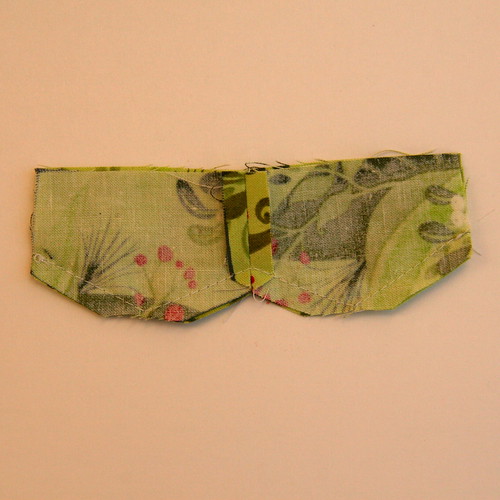
Place the cuffs together, matching seams. Sew along the bottom edge only. Clip corners.
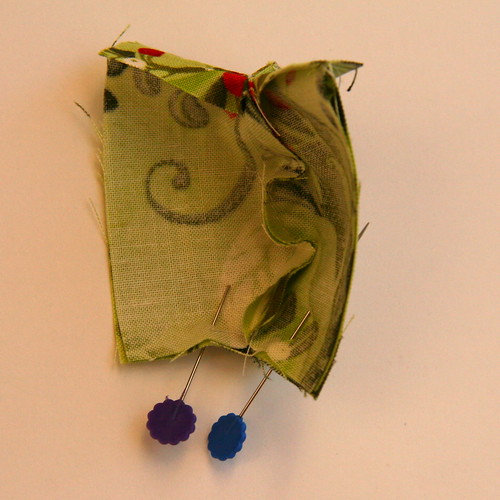
Open up the cuffs, and matching right sides, line up the short sides and bottom seam. Stitch along this side. You should now have a little circle cuff with only the top edge unfinished. Clear as mud? I hope so.
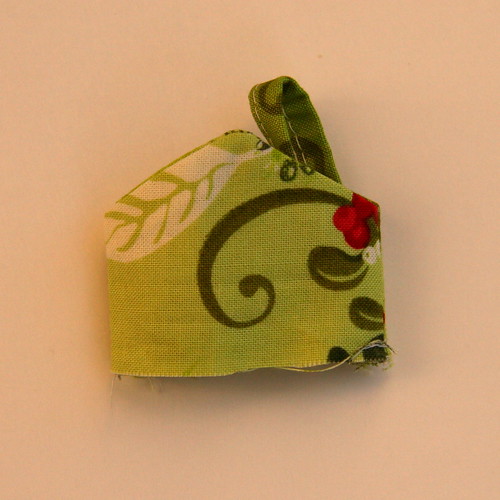
Place the hanging loop in the cuff as shown. Baste it in place, matching raw edges.
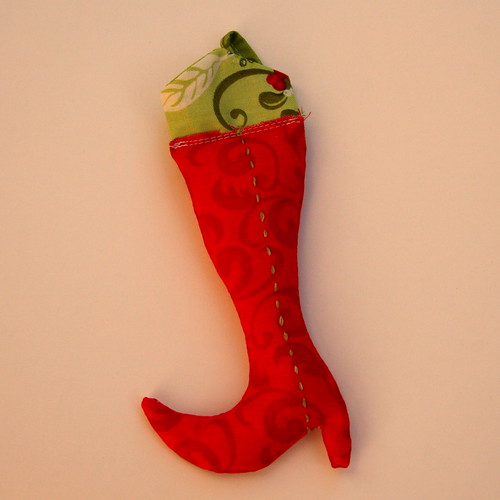
Fill the stocking/boot body with fiberfill. I use my finger and the fat end of a chopstick to work the filling into the toe and a bit into the heel. Don’t overfill, but provide enough to give a nice look. Place the raw edge of the cuff INSIDE the boot, with the raw edge of the boot top showing. Stitch along the edge of the boot top a couple of times or zig zag. Fold the cuff down over the raw edge and voila, you are done!
{ Comments on this entry are closed }